Connect X (Twitter) with your own API keys
Postproxy lets you connect X (formerly Twitter) profiles using your own X developer credentials instead of Postproxy’s shared app. Profiles connected this way are exempt from the shared 24-hour posting quota — your only limit is what your X credit balance and the platform’s per-app rate limits allow.
This guide walks through creating an X developer app on the Pay-Per-Use plan, configuring OAuth 1.0a user authentication for Postproxy’s callback, and saving the consumer keys in your Postproxy account.
Step 1: Create a developer account
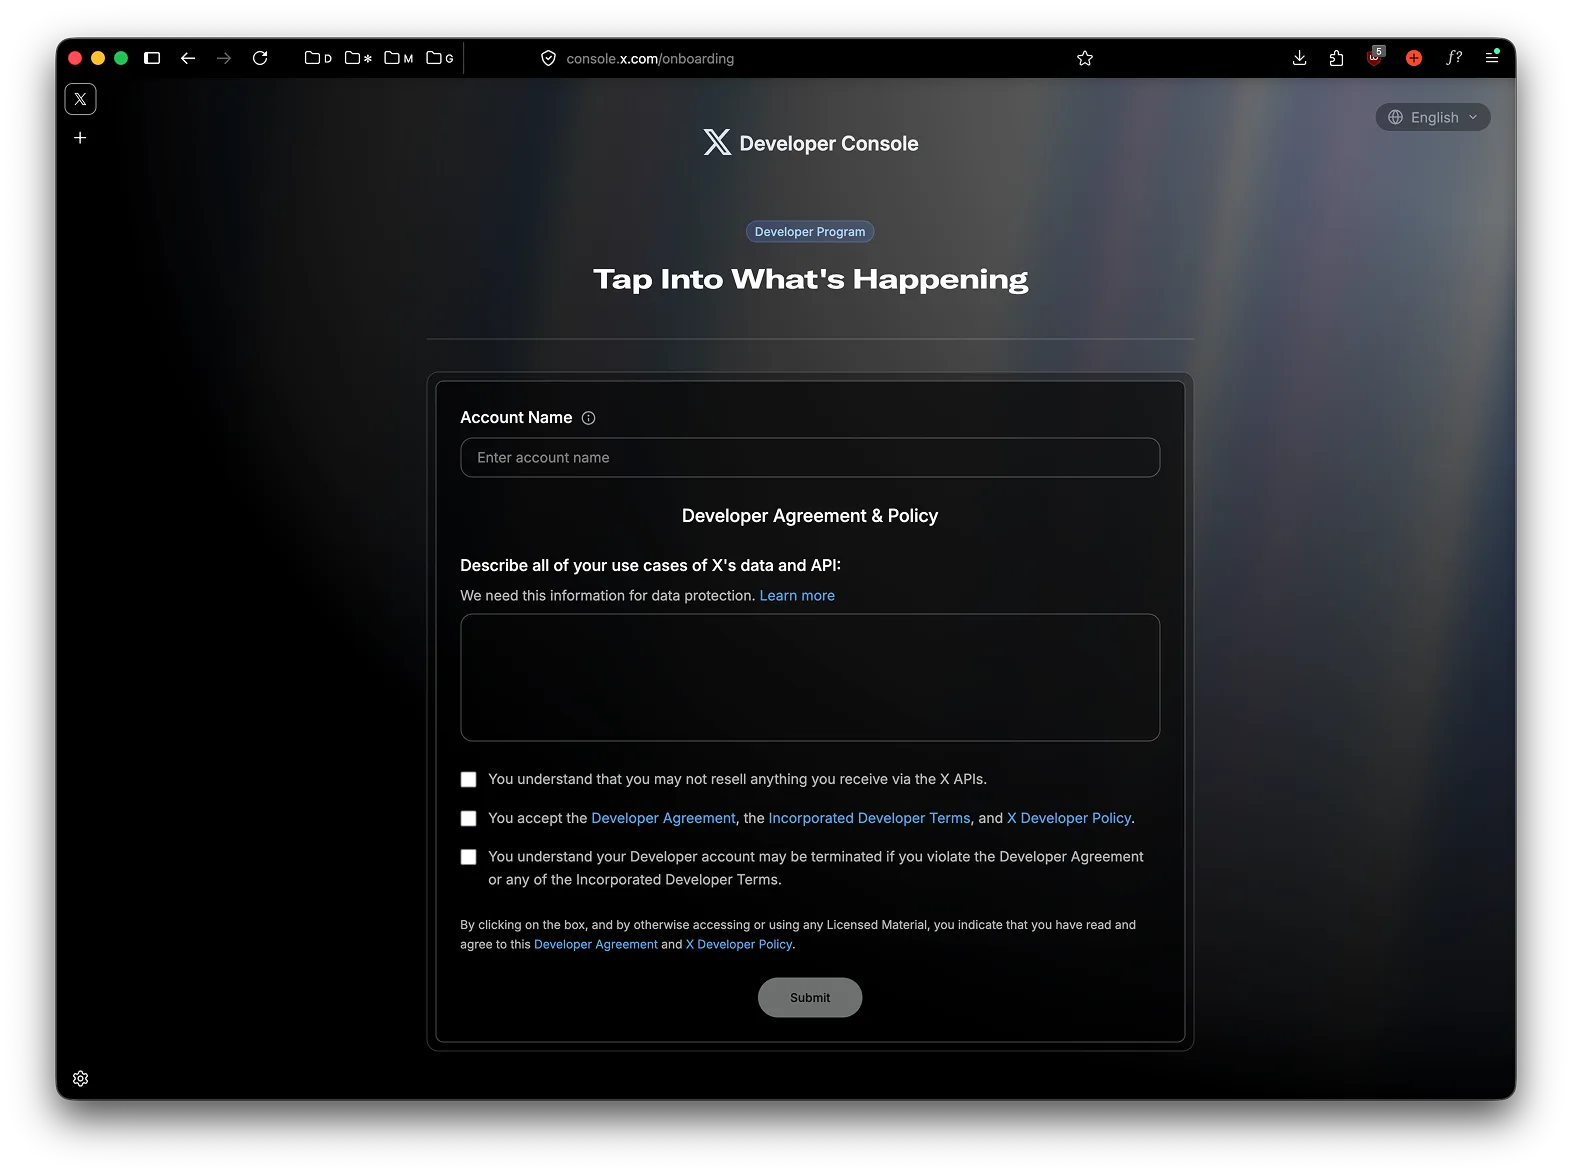
Section titled “Step 1: Create a developer account”Open the X Developer Console and sign in with the X account you want to post from. If this is your first time, you’ll see the developer onboarding form: enter an account name, describe your use case, and accept the Developer Agreement and Policy.
After submission, you land on the developer dashboard.

Step 2: Create an app
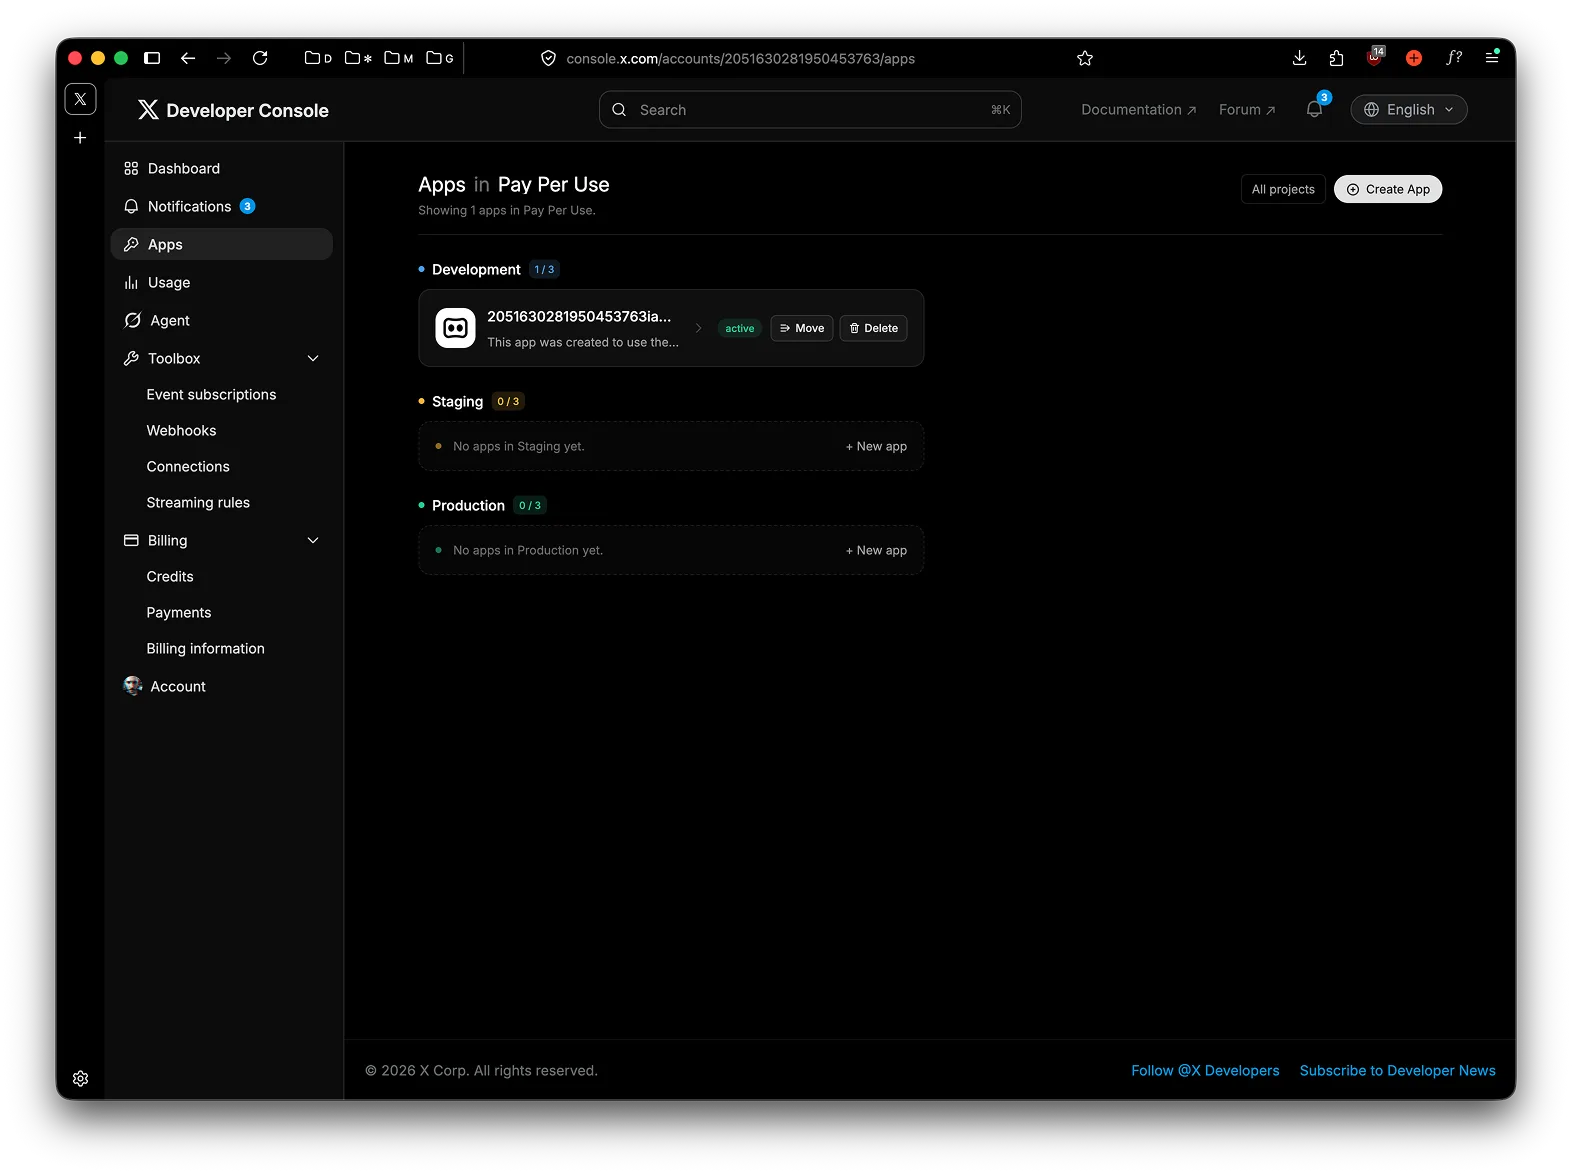
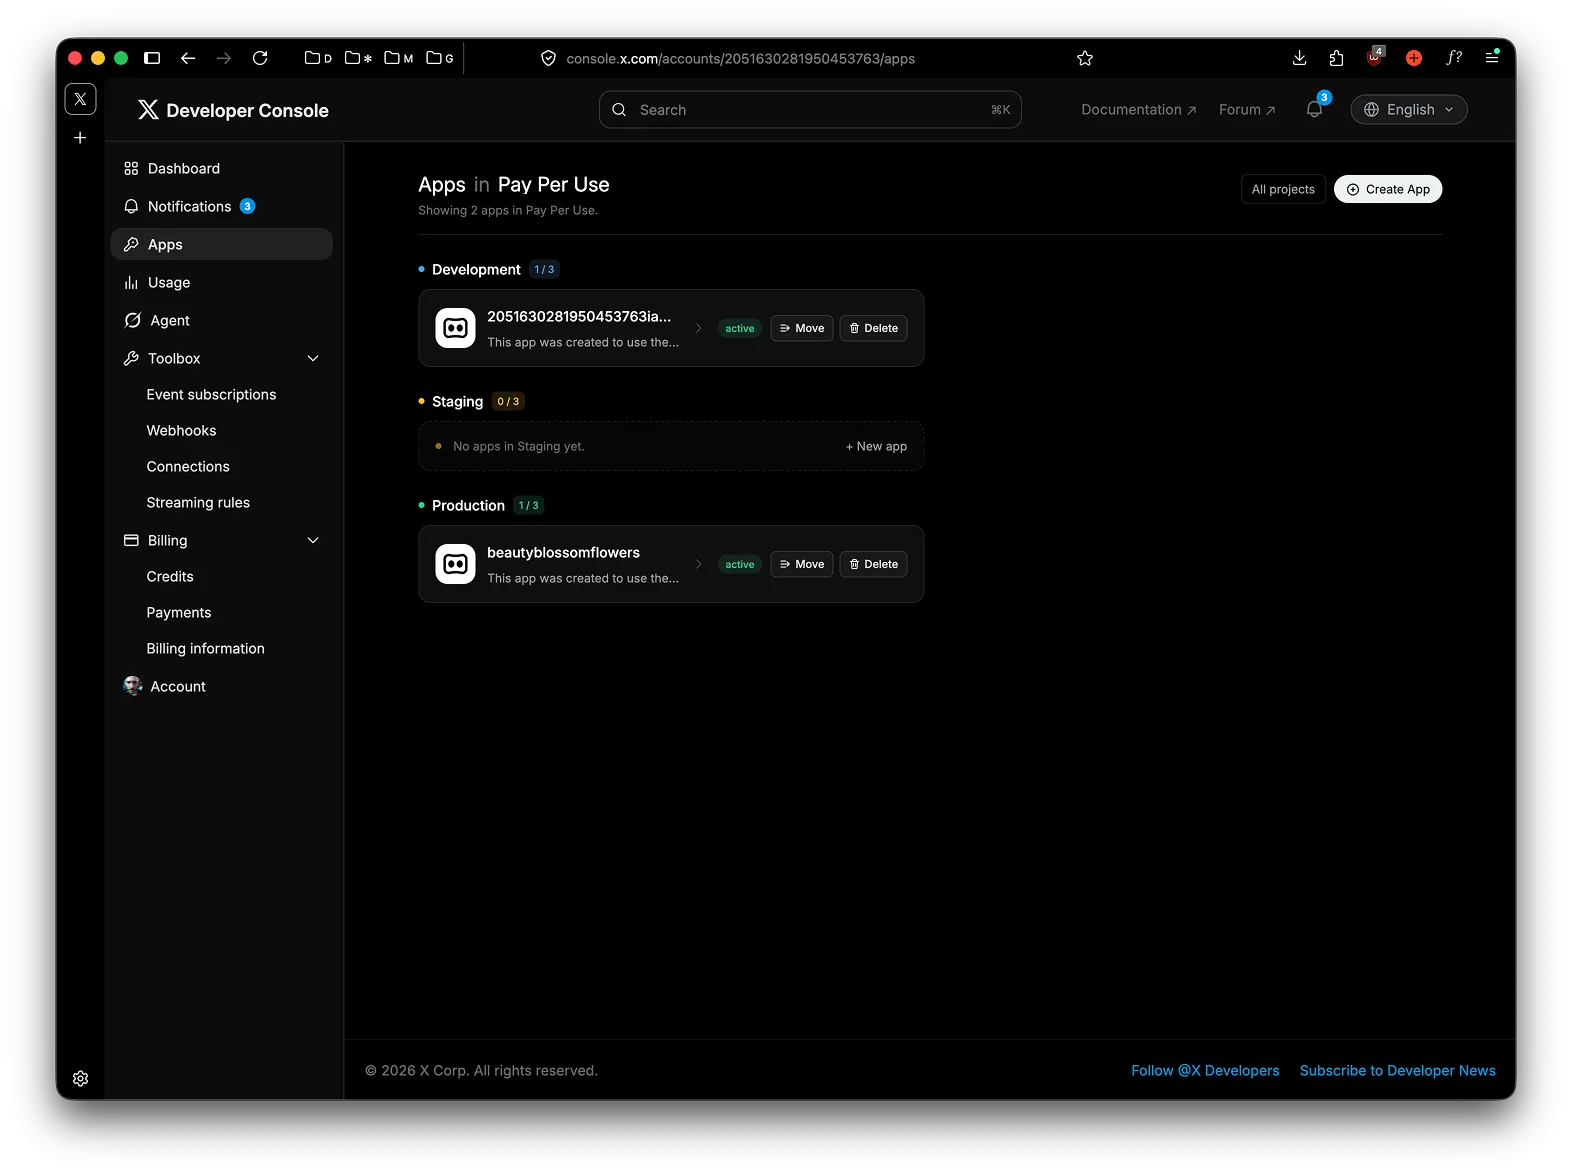
Section titled “Step 2: Create an app”Open Apps in the sidebar. The page lists apps grouped by environment — Development, Staging, Production. Click Create App in the top right.
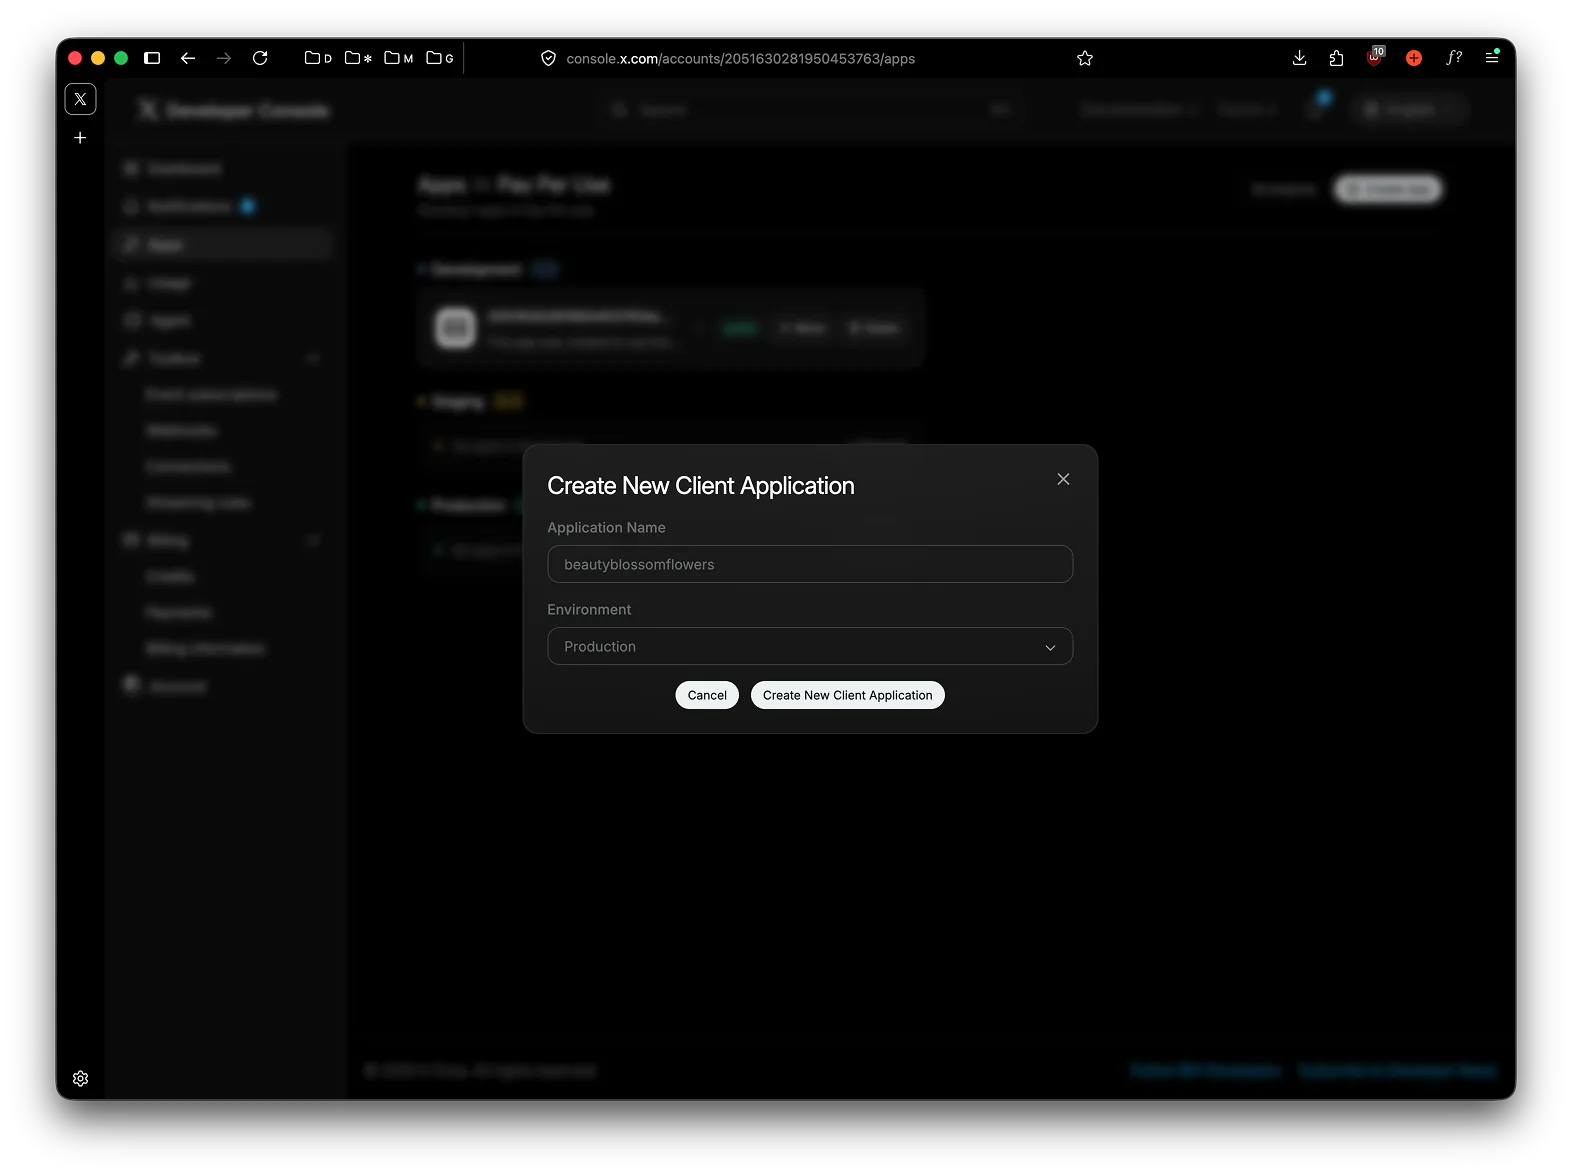
Give the app a name and pick Production as the environment, then submit.
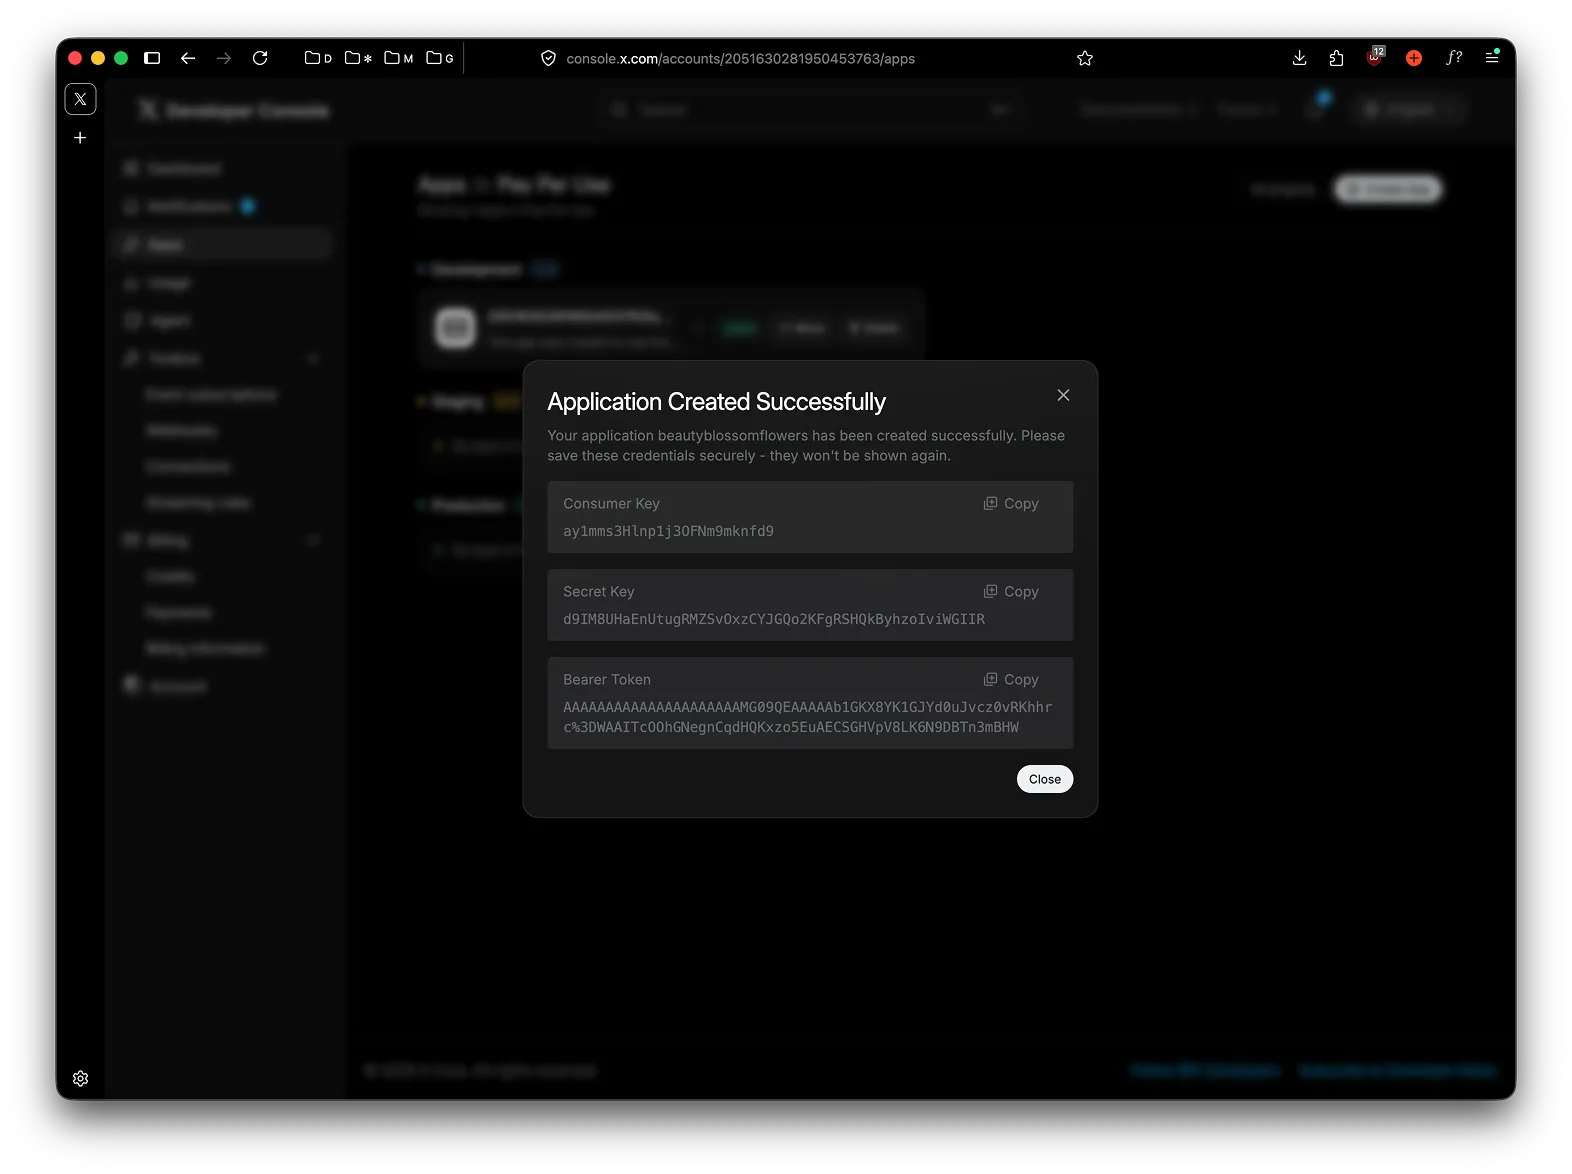
X immediately shows a one-time popup with a Consumer Key, Secret Key, and Bearer Token. You can ignore those for now. Close the popup.
The new app appears under Production on the Apps page.
Step 3: Configure user authentication
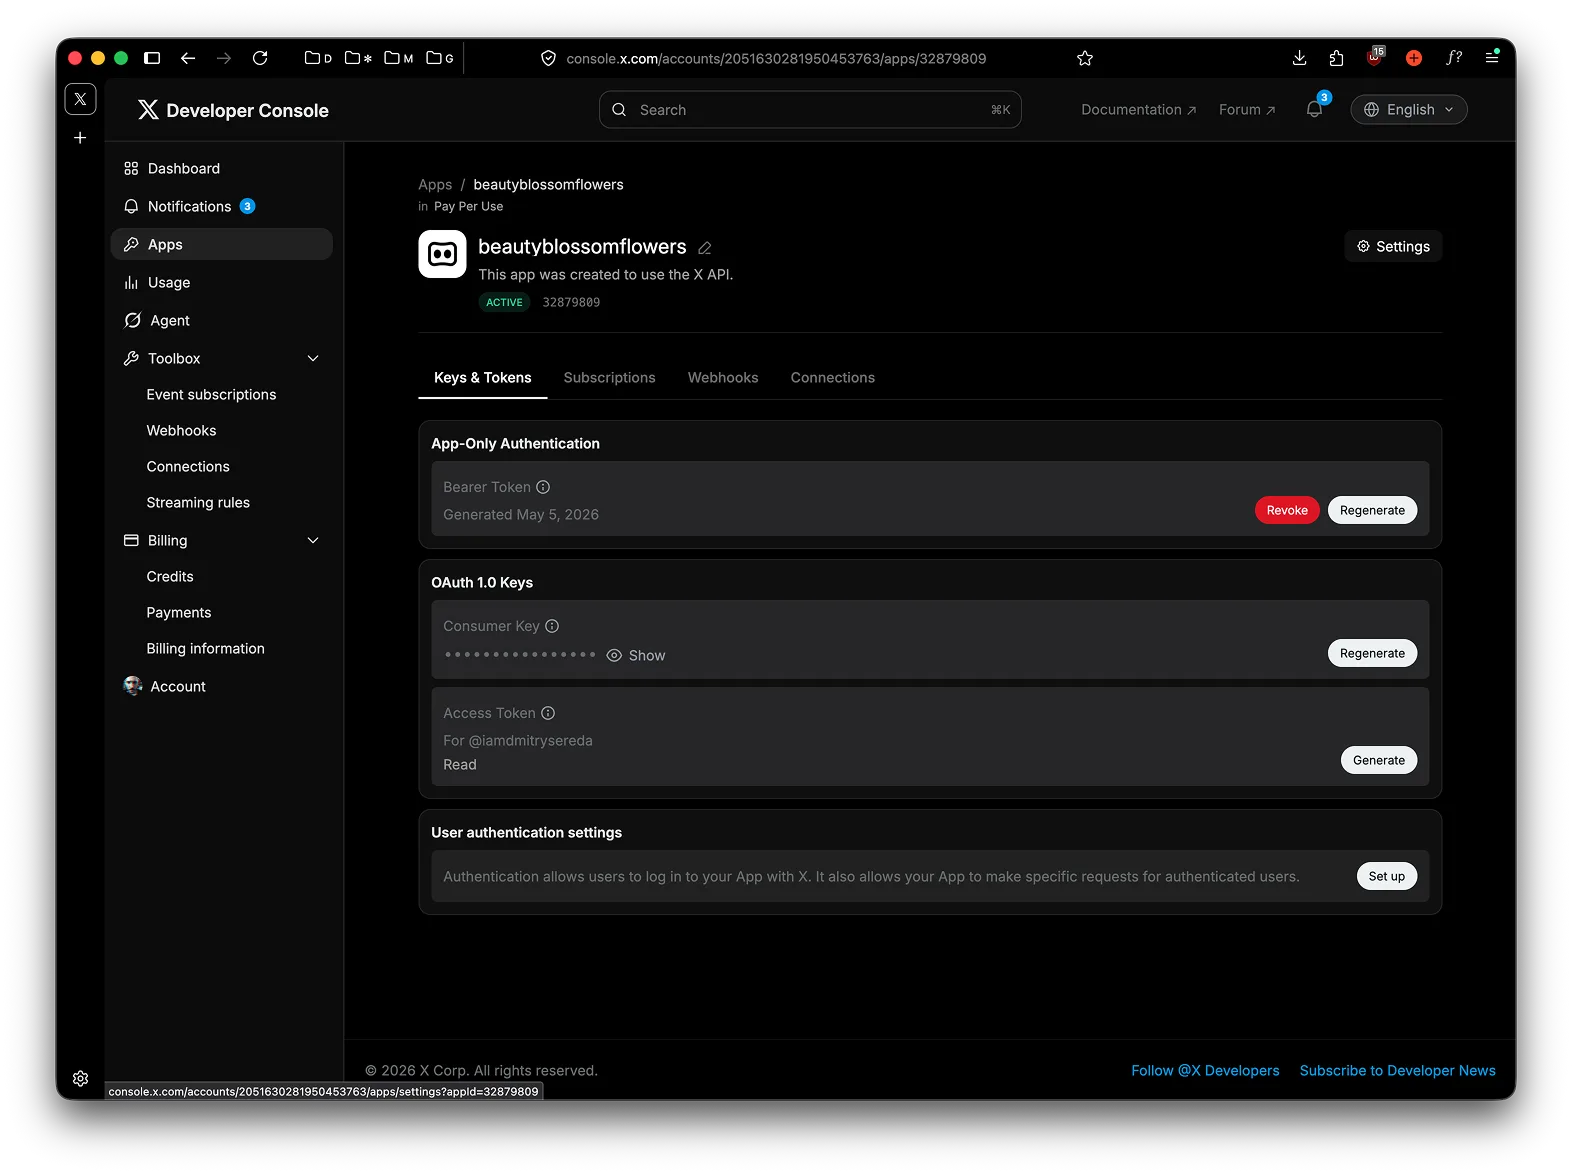
Section titled “Step 3: Configure user authentication”Open the app to reach its Keys & Tokens tab. Scroll to the bottom and find User authentication settings — click Set up.
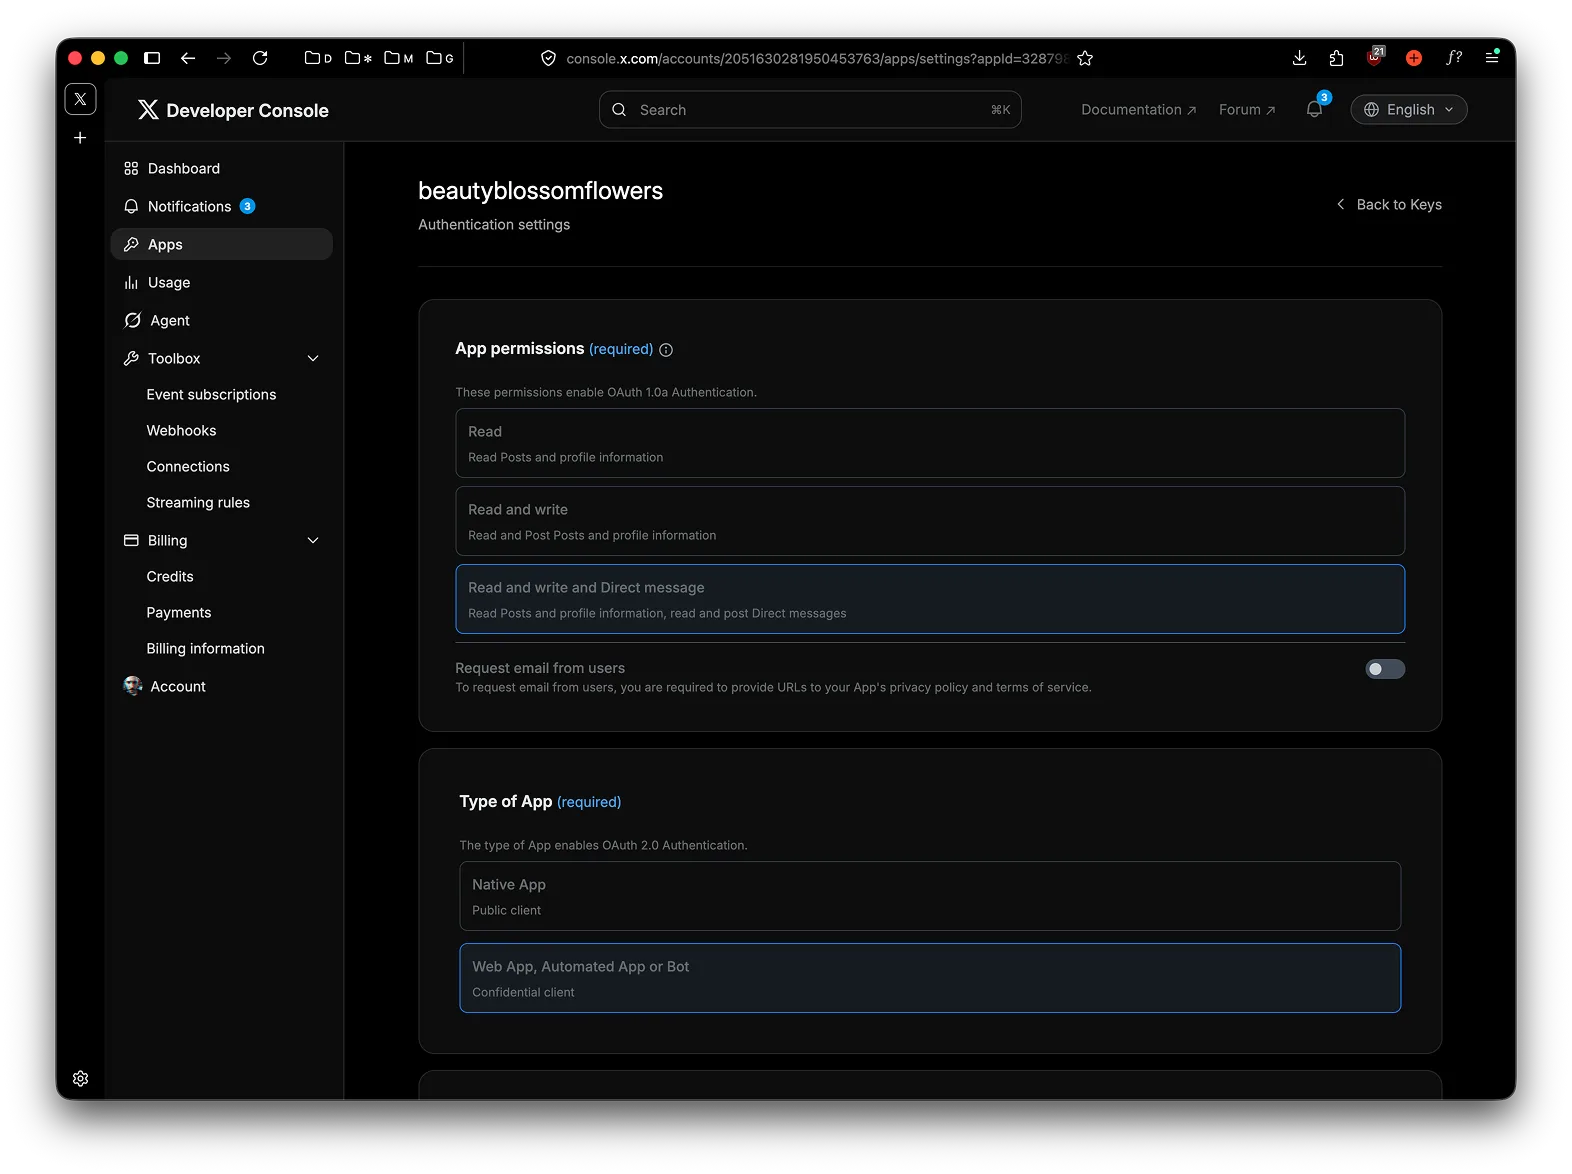
In the authentication form, select these options:
- App permissions:
Read and write and Direct message(orRead and writeif you don’t plan to use DMs) - Type of App:
Web App, Automated App or Bot
Scroll down to App info and fill in:
- Callback URI / Redirect URL:
https://app.postproxy.dev/auth/twitter/callback - Website URL:
https://postproxy.dev(or your own site)
Leave the other fields blank or fill in your own organization details. Click Save Changes.

Step 4: Generate OAuth 1.0a consumer keys
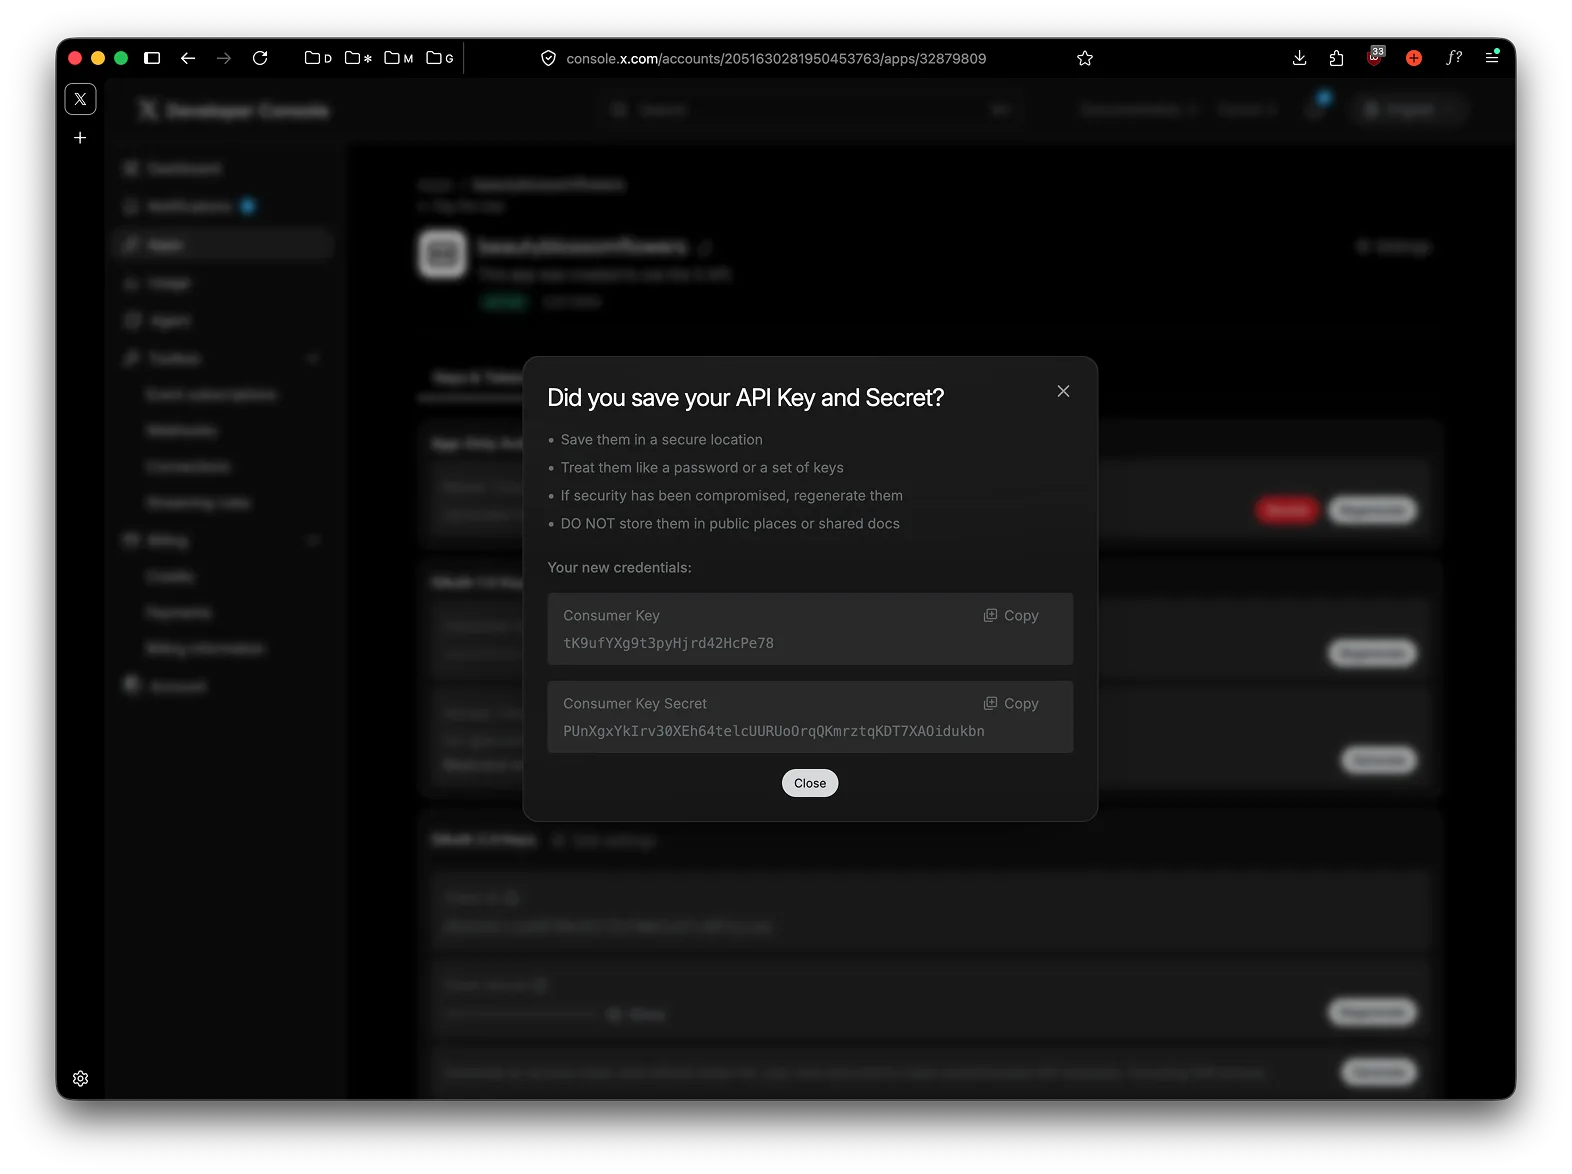
Section titled “Step 4: Generate OAuth 1.0a consumer keys”Go back to Keys & Tokens. Under OAuth 1.0a Keys, click Regenerate next to Consumer Key.
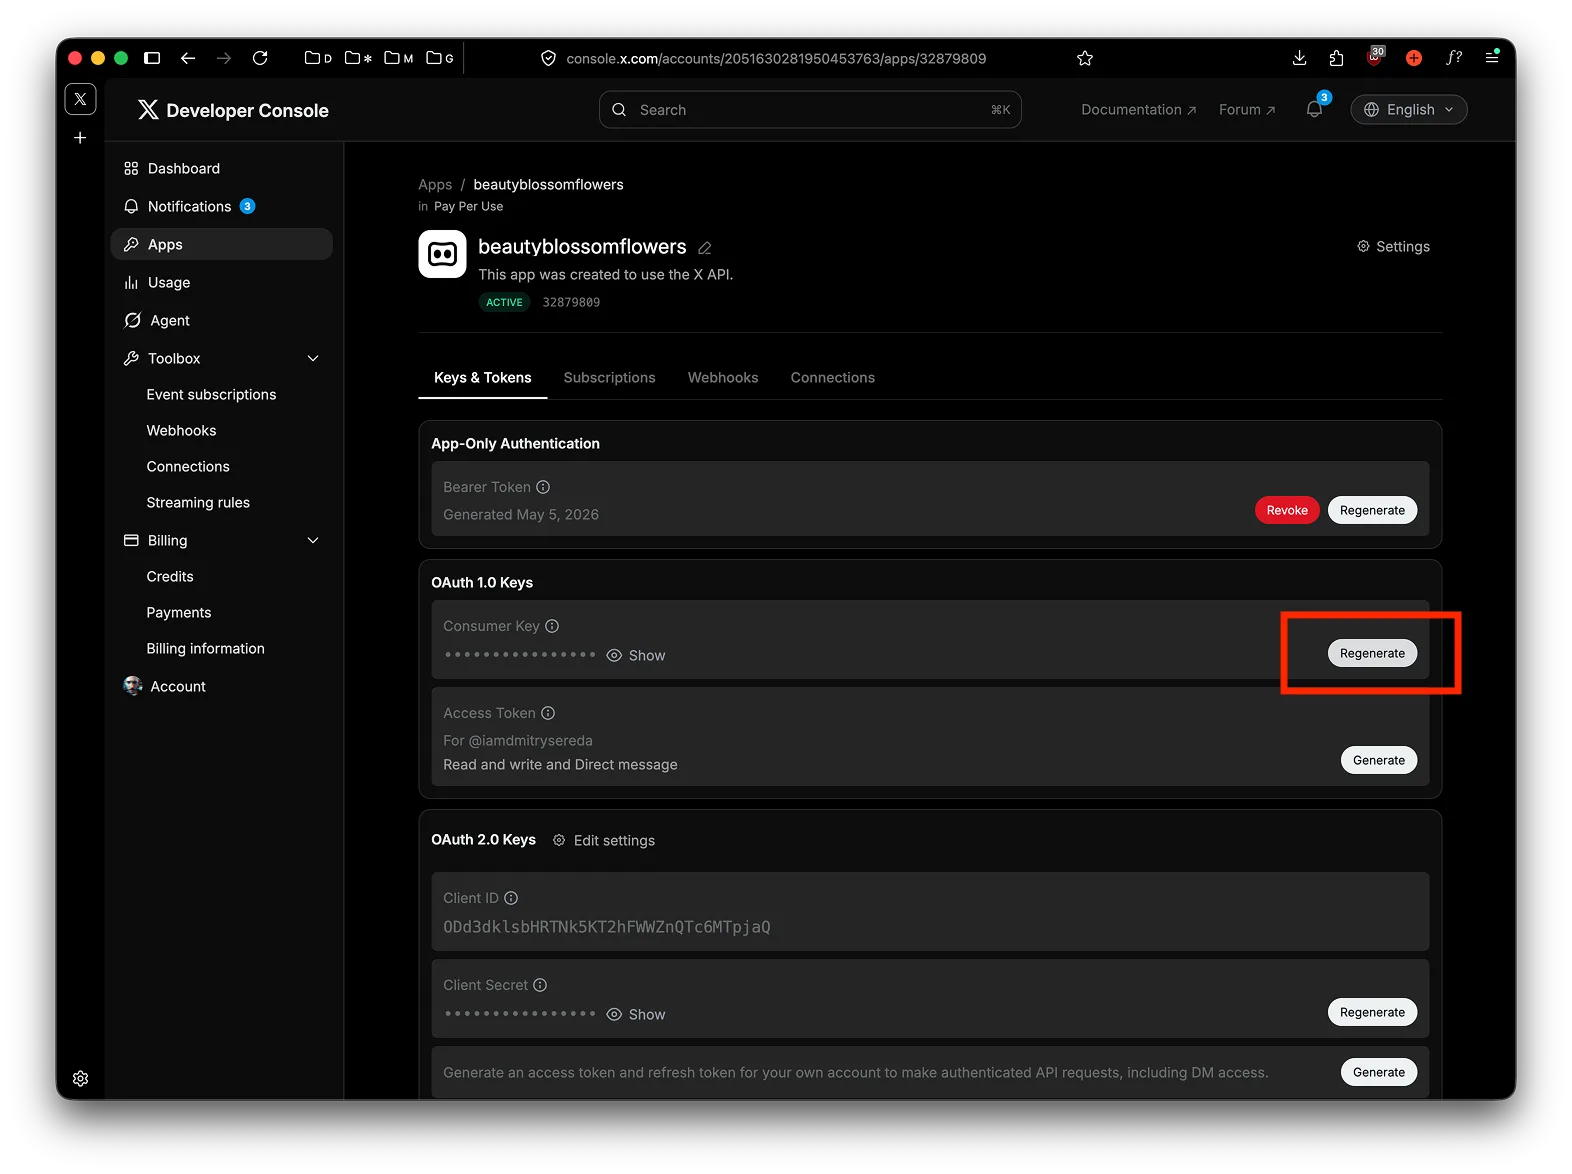
X reveals the Consumer Key and Consumer Key Secret in a one-time popup. Copy both — the secret is only shown here.
Step 5: Save the keys in Postproxy
Section titled “Step 5: Save the keys in Postproxy”In the Postproxy dashboard, open Account → Integrations. Find the Twitter / X — Bring Your Own Keys card, paste your Consumer Key into App API key and the Consumer Key Secret into App API key secret, then click Save keys.

From this point, any new X profile connected to your Postproxy account uses your developer app for OAuth.
Step 6: Add credits to your X account
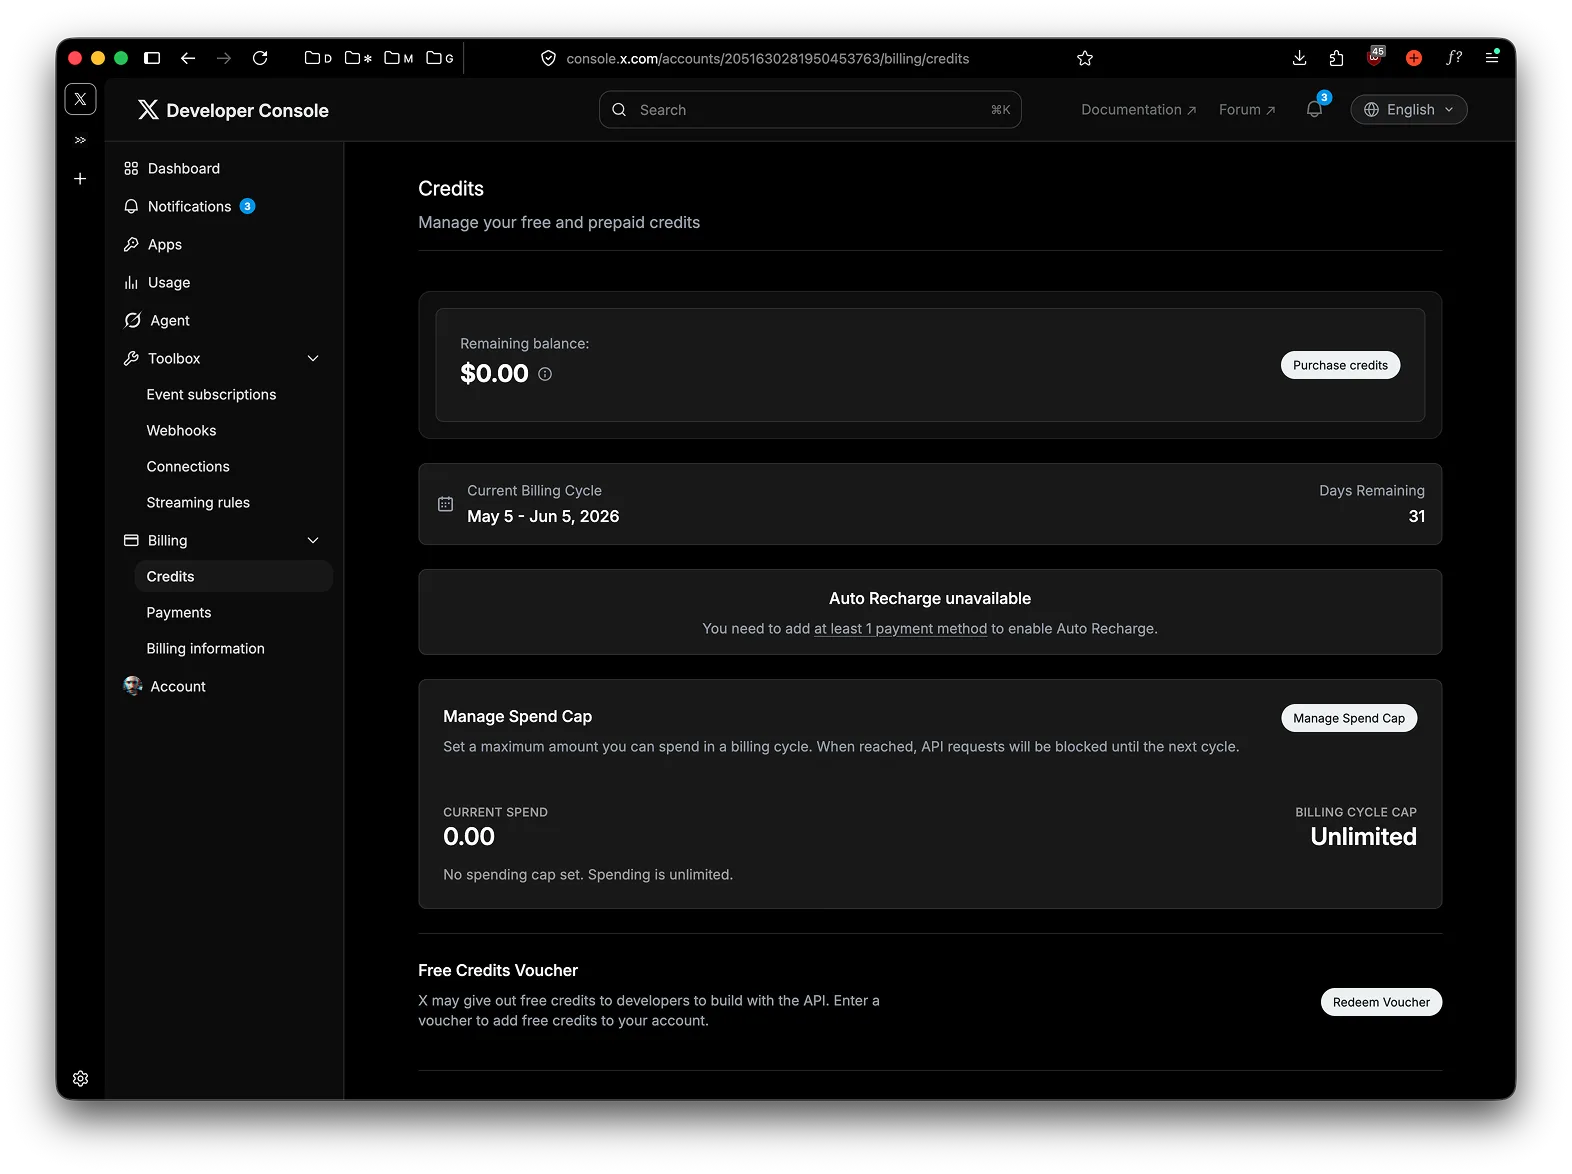
Section titled “Step 6: Add credits to your X account”Posting on X requires a non-zero credit balance. Open Billing → Credits in the X developer console.
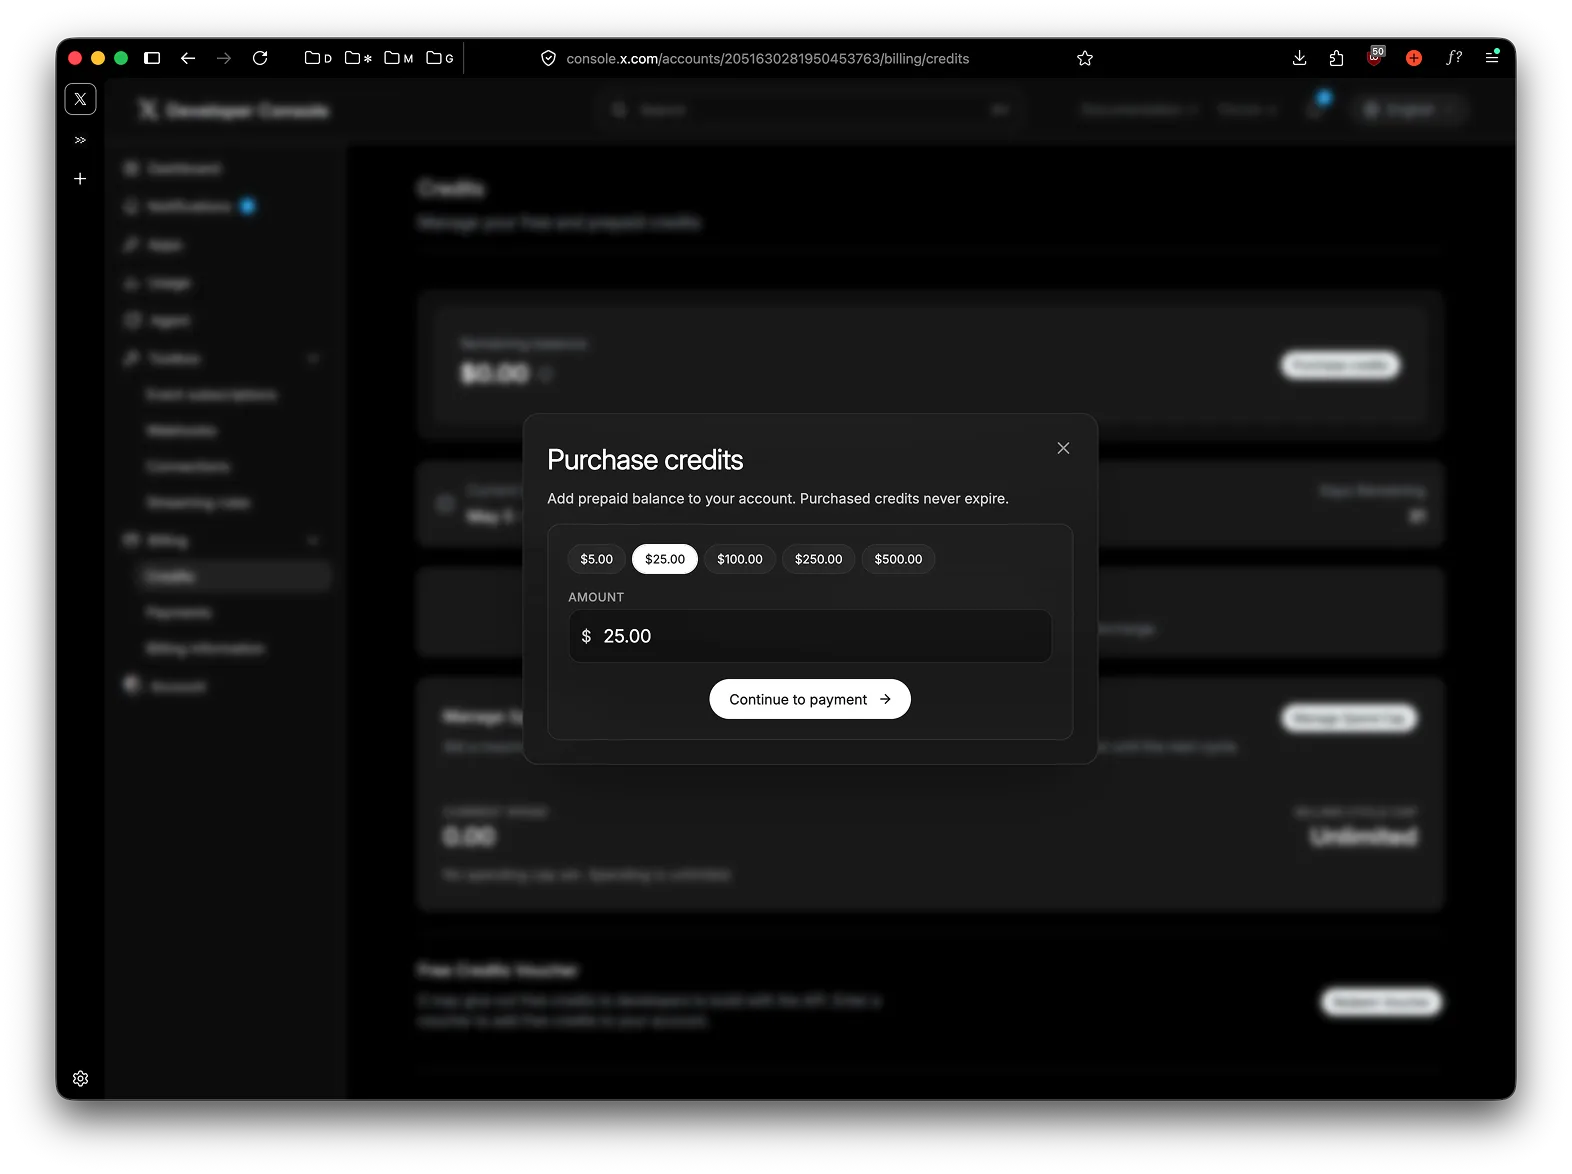
Click Purchase Credits, pick an amount (or enter a custom value), and continue to payment.
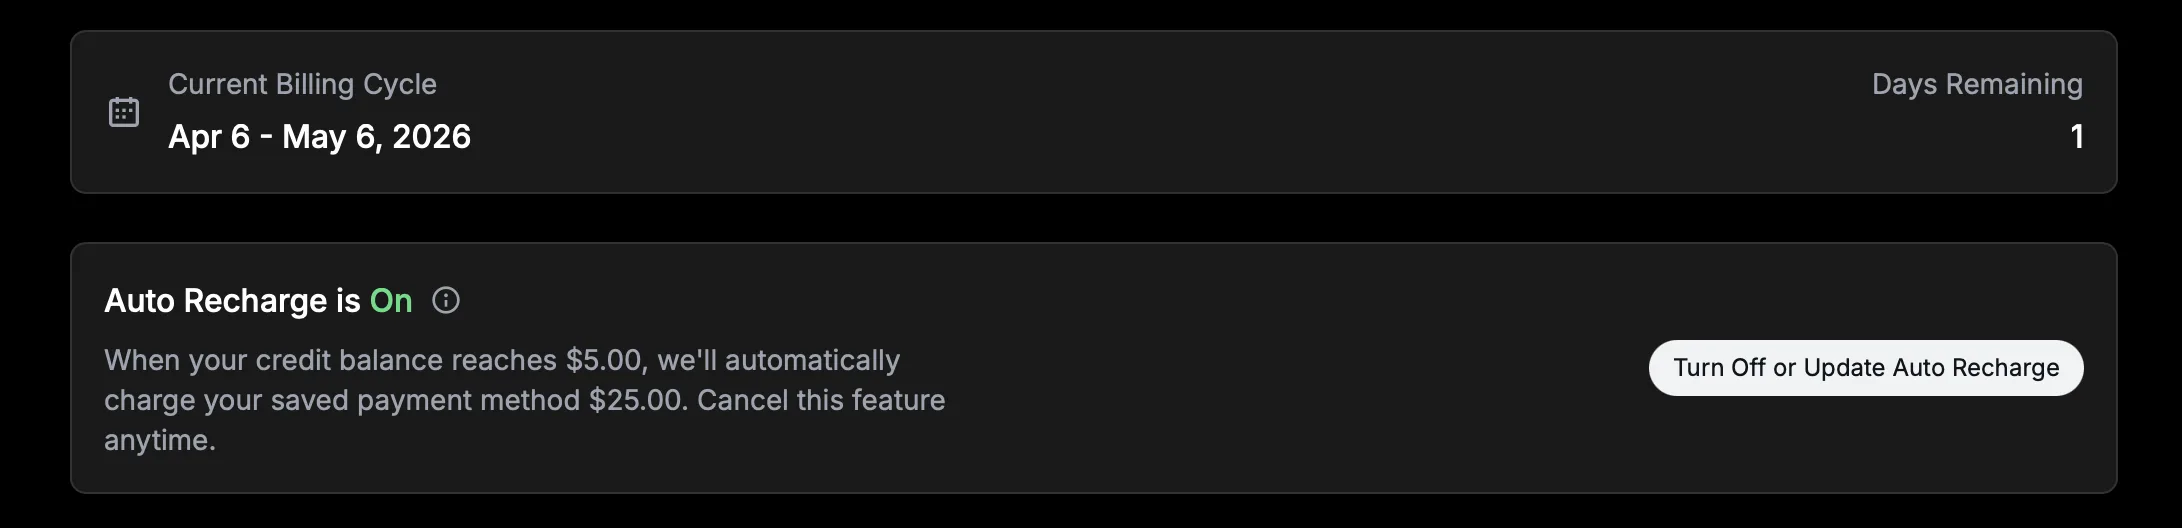
Once you have a payment method on file, you can also enable Auto Recharge so the balance tops itself up when it falls below the threshold.
Step 7: Connect an X profile
Section titled “Step 7: Connect an X profile”Go to Profiles → Connect account → X (Twitter) in Postproxy. You’ll be redirected to X’s authorization screen — approve access and you’ll land back on Postproxy with the new profile connected. The profile is now ready to publish through your developer app.
Reconnecting existing profiles
Section titled “Reconnecting existing profiles”X profiles that were connected before you saved BYO keys still post through Postproxy’s shared app. To migrate them, disconnect the profile and reconnect it after saving your keys — the new connection picks up your developer app automatically.
Troubleshooting
Section titled “Troubleshooting”Callback URL not approved — the callback in your X app doesn’t match https://app.postproxy.dev/auth/twitter/callback exactly. Check for trailing slashes, http vs https, or typos.
403 Forbidden when posting — your X app permissions are likely set to read-only. Reopen User authentication settings, switch to Read and write and Direct message, save, then reconnect the profile so the new scope takes effect.
Posts fail with a billing or credits error — your X credit balance is empty. Top up under Billing → Credits and enable Auto Recharge to avoid future drops.
Posts succeed in Postproxy but never appear on X — open the post status in Postproxy. If X rejected the post after acceptance (duplicate content, account suspended, media rejected), the platform-level status will show the X error message.